It all started when I wanted to make one little change to my blog header. I wanted to change the font of the subtitle. In the template, you can change everything but that and it's off to the left and I wanted it centered...blah, blah, blah.
My quest began...
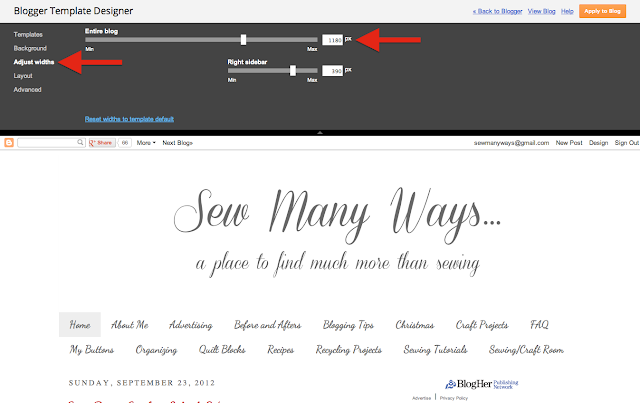
While looking in my template, I noticed my blog width is 1180 px. So why can't I just make a blog header that's white like my whole blog background color and use Picmonkey to type what I want and in the font that I want.
So here we go with a picture tutorial for you. You will be changing the size, colors and fonts to fit your needs...these are the basic tools to work with. FOLLOW THE RED ARROWS.
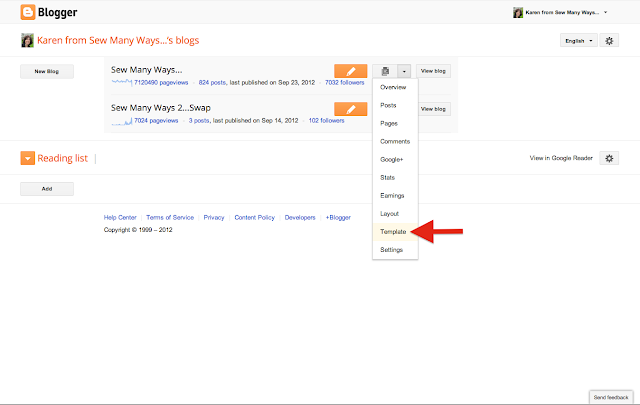
GO TO YOUR DASHBOARD AND CLICK "TEMPLATE"
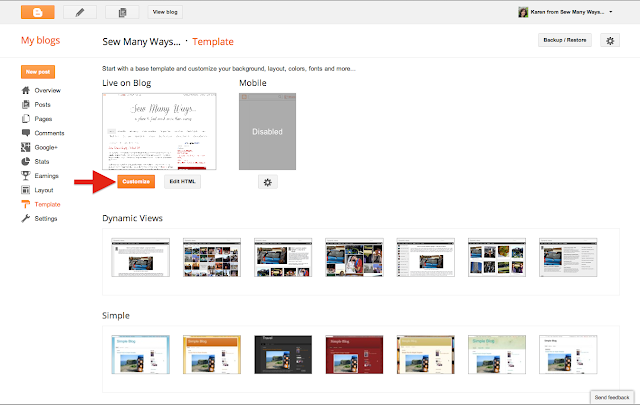
CLICK ON "CUSTOMIZE"...
WHEN YOU CLICK ON "ADJUST WIDTH", YOU'LL SEE YOUR BLOG'S WIDTH. YOU WON'T BE CHANGING ANYTHING HERE, JUST GETTING INFO.
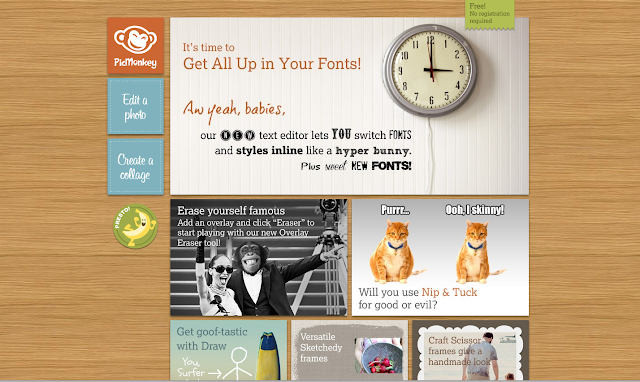
NOW GO TO YOUR FAVORITE PHOTO EDITING PLACE. I'LL BE USING PICMONKEY.
DOWN LOAD ANY PHOTO AT ALL...ANYTHING, IT DOESN'T MATTER.
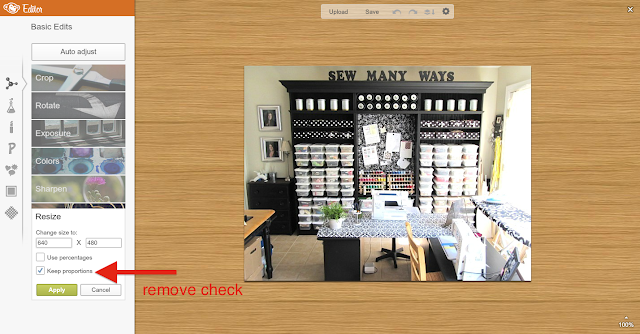
CLICK "RESIZE"

YOU MUST REMOVE THE CHECK MARK IN THE BOX..."KEEP PROPORTIONS".
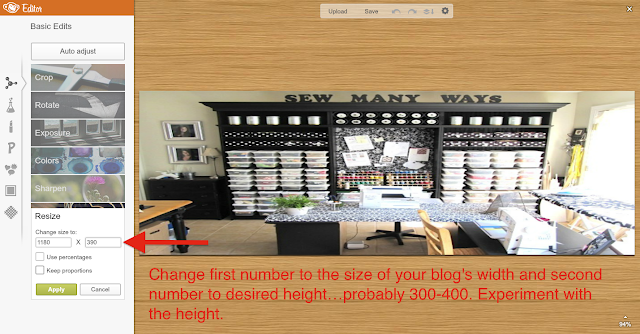
NOW CHANGE THE NUMBERS TO YOUR DESIRED SIZE. MY BLOG IS 1180 PX WIDE AND I GUESSED ABOUT 390 FOR THE HEIGHT THAT I WANTED.
UPDATE...I CHANGED MY WIDTH TO 250. THERE WAS TOO MUCH SPACE BETWEEN MY TITLE AND MY PAGES.
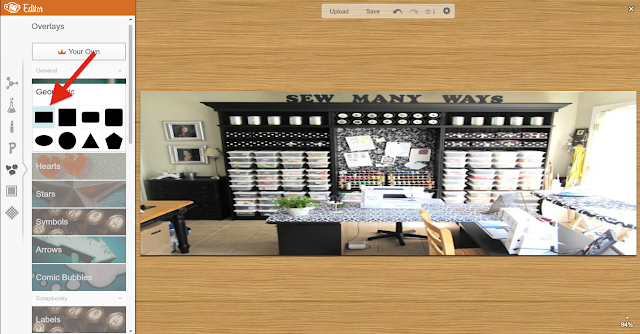
NOW GO TO THE "OVERLAYS" SECTION.

PICK THE RECTANGLE.
IT WILL POP UP ON YOUR PICTURE. SEE THE BLACK BOX IN THE CENTER?
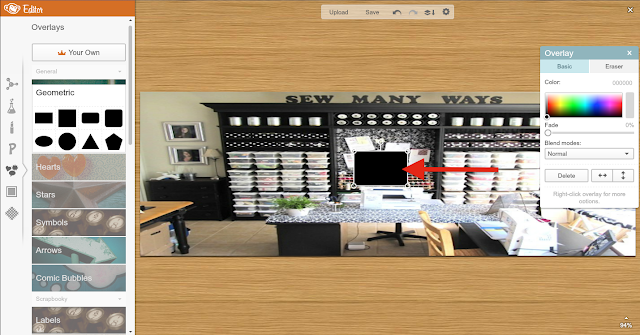
NOW TAKE THE CORNERS AND DRAG THEM TO "FIT" YOUR PICTURE.
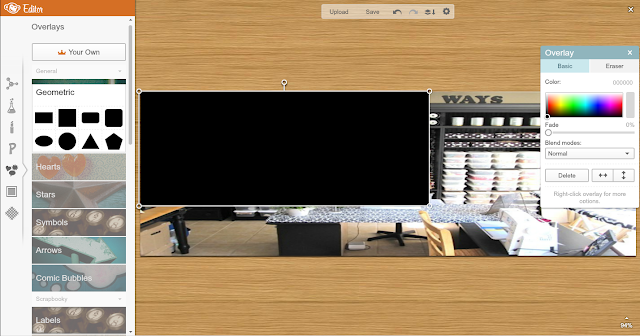
DRAG DOWN AND OVER TO FILL IN THE ENTIRE PICTURE.
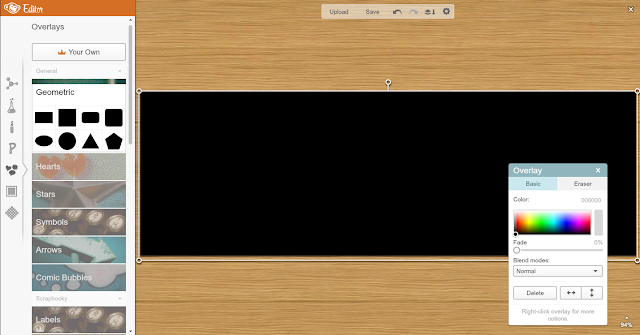
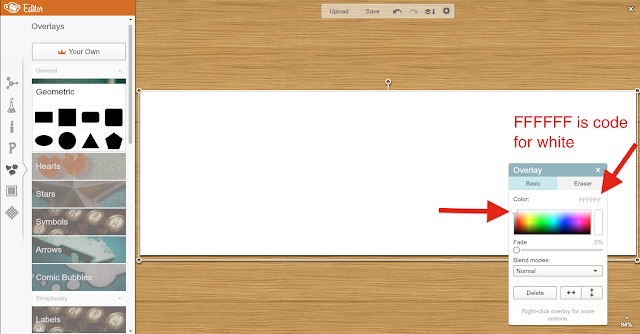
NOW USE THE OVERLAY COLOR CHART TO PICK THE COLOR YOU WANT FOR YOUR HEADER. SINCE MY BLOG'S BACKGROUND IS WHITE, I WANT THE HEADER TO BLEND IN AND DISAPPEAR. THAT WAY THE LETTERS WILL JUST SHOW.
MOVE THAT LITTLE COLOR CIRCLE AROUND UNTIL DESIRED COLOR.
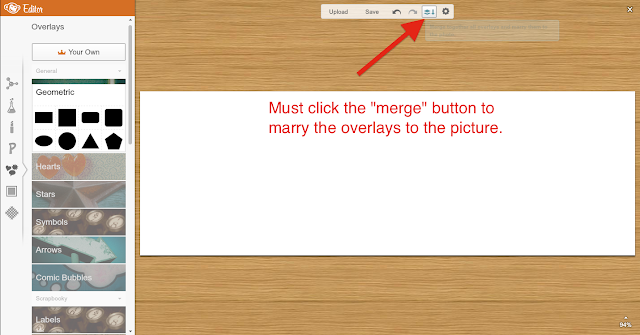
ONCE YOU'RE DONE, YOU "MUST" CLICK THE "MERGE" BUTTON. THIS UNITES THE OVERLAY WITH THE ORIGINAL PHOTO TO MAKE IT ONE....OTHER WISE IT WILL MOVE AROUND WHEN YOU DO THE FONTS.
NEXT STEP IS THE FONT SECTION.
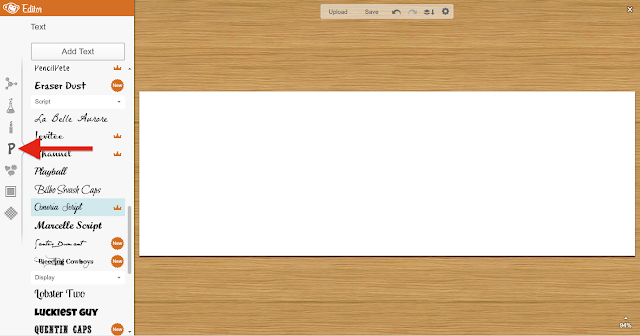
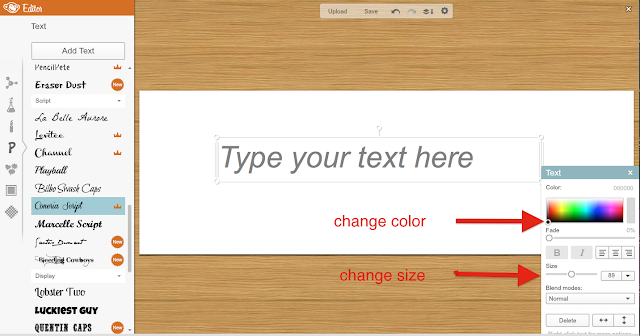
SELECT FONT, CLICK "ADD TEXT" AND THEN JUST TYPE IN THE BOX. HIGHLIGHT TEXT TO CHANGE SIZE AND COLOR. DRAG BOX AROUND WHERE YOU WANT IT.
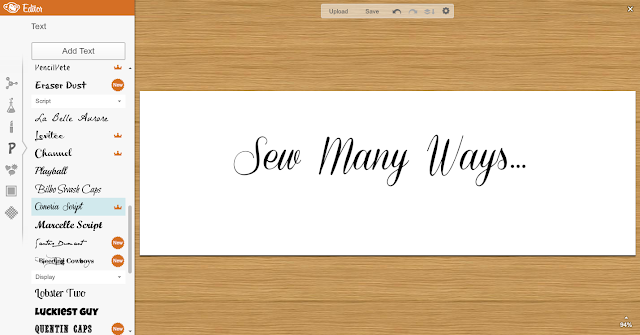
TITLE...
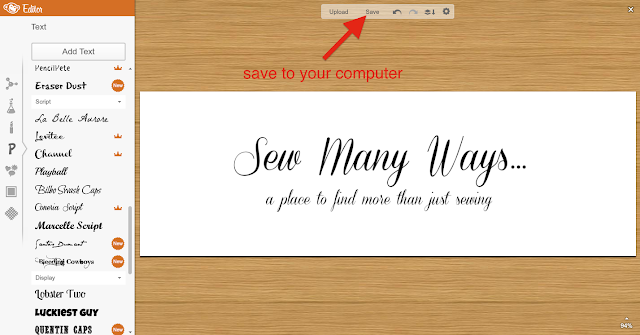
SUBTITLE BOX...WHEN DONE, CLICK MERGE AGAIN JUST TO BE SURE.

WHEN YOU'RE FINISHED...CLICK THE "SAVE" BUTTON TO SAVE IT TO YOUR COMPUTER.
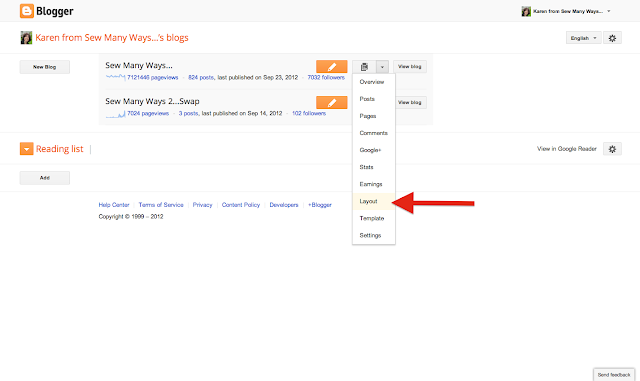
NOW GO TO YOUR DASHBOARD AGAIN AND CLICK "LAYOUT"
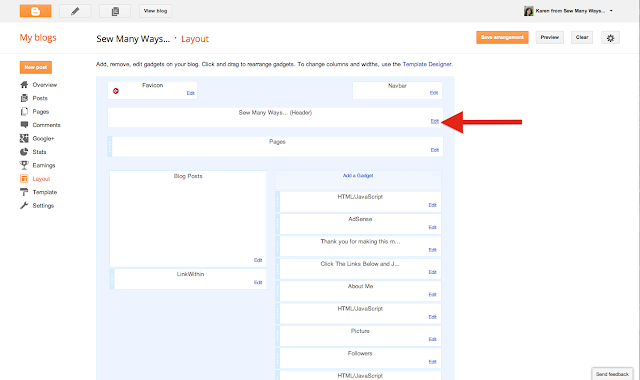
CLICK THE "EDIT" BUTTON FOR YOUR HEADER.
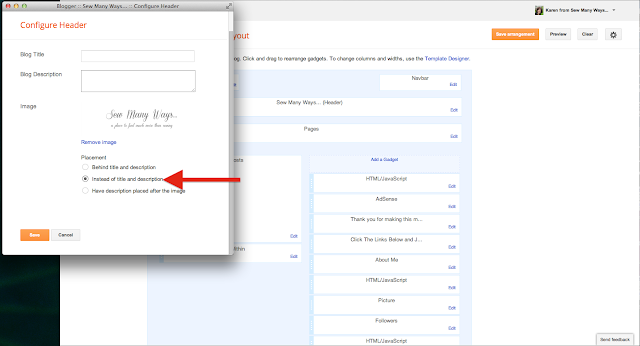
PUT A CHECK IN THE "FROM YOUR COMPUTER" BOX, THEN CLICK "CHOOSE FILE".

FIND YOUR PICTURE THAT YOU SAVED ONTO YOUR COMPUTER AND ADD IT.
THEN PUT A CHECK IN THE "INSTEAD OF TITLE AND DESCRIPTION" BOX.
YOU MUST CLICK "SAVE" ON THE BOTTOM LEFT.
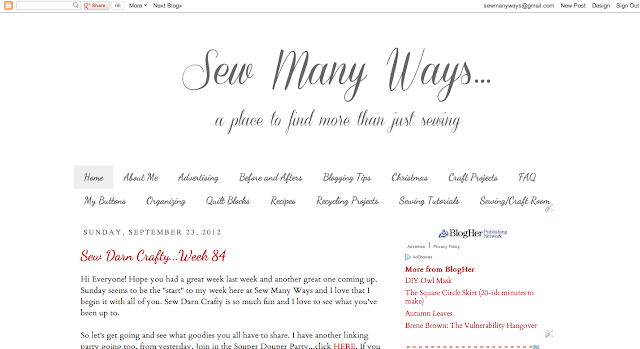
NOW YOU HAVE A NEW HEADER...WITH YOUR OWN COLORS, FONTS AND JUST WHERE YOU WANT IT.
I hope this works out for everyone. If anything doesn't work out, just remove the picture and start over. can't tell you how many times I designed one!!
We all have different ways to do things and this is a round about way to do a technical thing...but it works for me!! If anyone has any tips for this let me know.
Thanks for stopping by,
~Karen~

Hiç yorum yok:
Yorum Gönder