
Sometime last year, Cherish, a friend of a blogger friend of mine, contacted me about doing a dessert table for her wedding. I had never done one before, but I told her I was willing to try! She wanted to have a classic rustic wedding, and after we exchanged a few brainstorming emails she decided she definitely wanted my Hello Kitty macarons on the table, among other things!
A year flew by, during which we exchanged many emails, until finally it was a week before the wedding! I had scheduled my week around the baking that I would need to complete, and for the Hello Kitty macarons I started on them 2 days before the wedding, as they would need at least 24 hours in the fridge to "develop". I had already decided to use my favorite macaron recipe, from Pierre Herme's "Macarons" book. (I actually own two copies of this book now - the first one in French since that was the only one available at the time, and then sometime last year they came out with an English version, so I had to get that one too!)

The first time I made macarons, it was quite a process! Grinding almond meal, aging egg whites, etc. You can read about it in this post, but since then I've gotten a little more used to the process. I've also switched to using raw slivered almonds when making my almond meal, which saves lots of time! (Although you could also just buy almond meal, but I prefer to grind my own!)
Pierre Herme uses the Italian meringue method, where you make a hot sugar syrup on the stove, and then slowly pour it into whipped egg whites to help stabilize the meringue.

Then you continue whipping the egg whites until you get a stiff, glossy, beautiful Italian meringue!
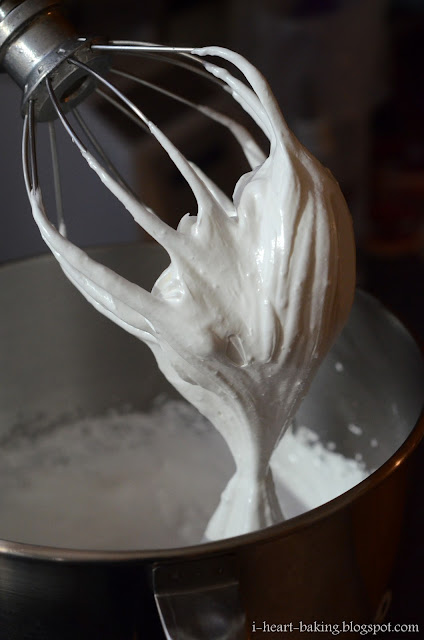
Then you mix in the rest of your ingredients (almond meal, confectioner's sugar, and more egg whites) and fold them until you get the right consistency (until it "flows like lava"), and then fill a piping bag and pipe out circles of batter onto a silpat or parchment paper.

The first time I made my original Hello Kitty macarons back in June of 2011, I made the ears by using a toothpick to pull out the batter (based on a method I saw at 6Bittersweets where Xiaolu made lemon-shaped macarons). But this time I decided to also try piping out the ears to see how it would look.

I liked it and it was much more time efficient than pulling out ears with a toothpick, however I think I still prefer the toothpick method better - they look more like ears!

But either way, they are still cute once Hello Kitty's face is drawn and bow is attached! (See my original Hello Kitty macaron post as well as my post on rhubarb Hello Kitty macarons for more info on how I do this).

When all the shells were baked and cooled, I made a fresh strawberry cream cheese filling to fill them with.

I ended up making more than 150 macaron shells, which turned into 75 plus assembled macarons - I always make extra to allow for mess-ups!

Stay tuned for more posts on the rest of the wedding dessert table goodies! I'll also have a post on the final set up of the dessert table, but here's a sneak peak on how I displayed these babies!

Hiç yorum yok:
Yorum Gönder