What are social media icons? They are the little cute buttons you see on other blog that, if clicked on, will direct you to their Pinterest page, Facebook page, Twitter account, contact info etc...
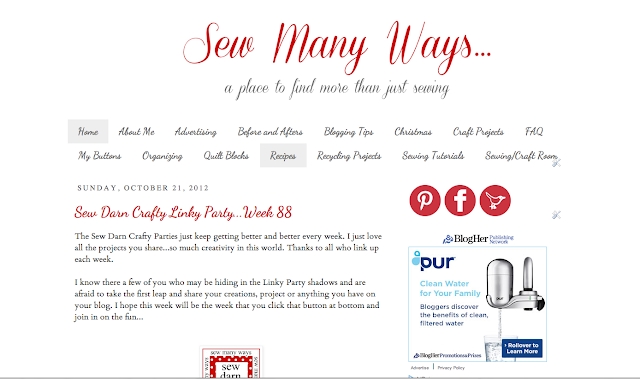
Here are my new ones. Aren't they cute?

My old social icons were round with red and white polka dots. I made them my self a long time ago with Picnik, but never liked the fonts for each icon. Now that I belong to more sites like Pinterest etc, I just don't have the design programs or the skills to get fancy!!
Well, I found a fabulous website where you can chose from 15 different colors for each set social media icons...and they're FREE. Click HERE to visit Carrie Loves and see the beautiful social media icons she is sharing.
Here's just a peek...a set of 12 icons in 15 colors!!
Now let's get started...
How To Add social Media Icons To Your Blog
First, you will need to do a few preliminary things.
- down load the icons to your computer
- then upload them to Photobucket...this will give us the Direct Link address for each icon
- open a Word Document for the HTML code
STEP 1.
Down load any social media icons you like or icons you have designed yourself to your computer. Here is the set of icons in the color Fire that I picked for my blog from Carries site.

STEP 2.
Select the individual icons that you want on your blog and upload them to Photobucket. I've always used Photobucket to find linking codes for my images. Here are the icons I uploaded to my Photobucket account.

STEP 3.
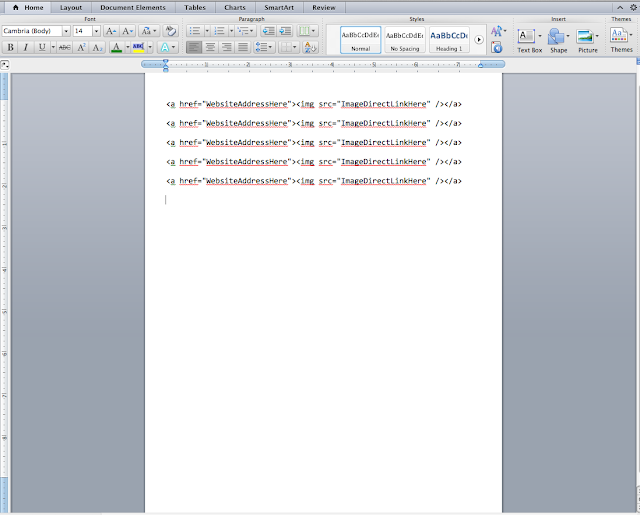
Now open up a Word Document...this step just makes it easier to copy and paste the whole code into your dashboard. You will be copying and pasting THIS code for EACH icon you will be adding.
<ahref="WebsiteAddressHere"><img src="ImageDirectLinkHere"/></a>
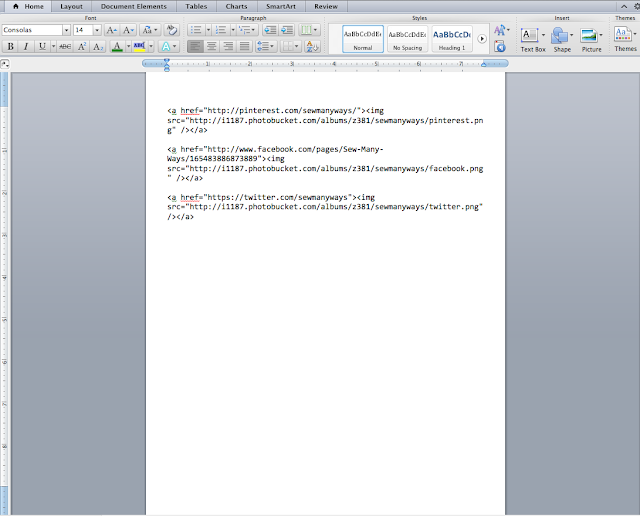
WebsiteAddressHere...this is the URL http address for each of YOUR websites like your facebook, twitter, pinterest etc.
My example for MY Pinterest account is...http://pinterest.com/sewmanyways/
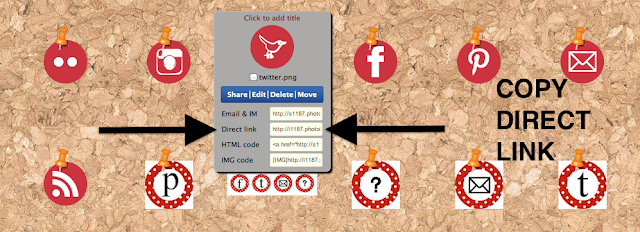
ImageDirectLinkHere...this is the Direct Link address from each image on Photobucket. Just hover over each image and then click on the Direct Link and it will automatically copy it for you
STEP 4
Open a Word Document and copy that original code.
Here is a screen shot of the Word Document. I've added spaces between each one just to make it easier to see.
When you are finished, delete the spaces before copying the whole code.
STEP 5
Before you copy and paste all YOUR addresses and Direct Link codes into each space, make sure you delete my words that are highlighted...just don't delete the quotation marks.
Here's MY example...
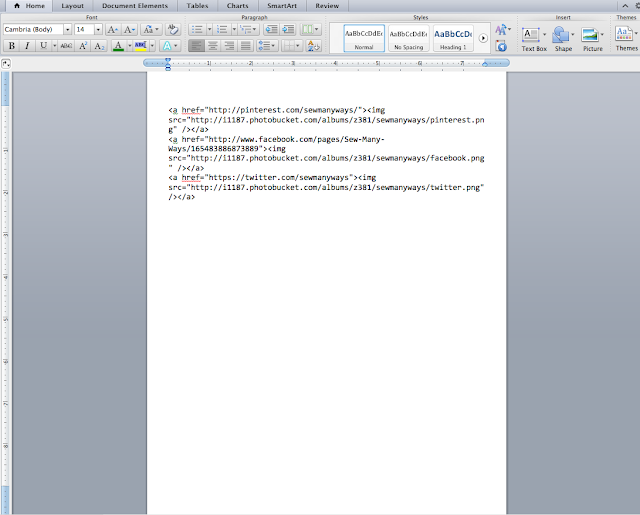
STEP 6
Next, remove the spaces and copy the whole code.
STEP 7
Now go to your Dashboard...click on
- Layout
- then Add Gadget
- then add HTML/JavaScript Code
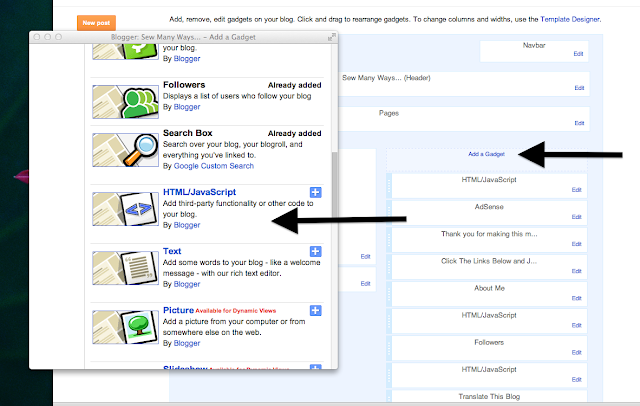
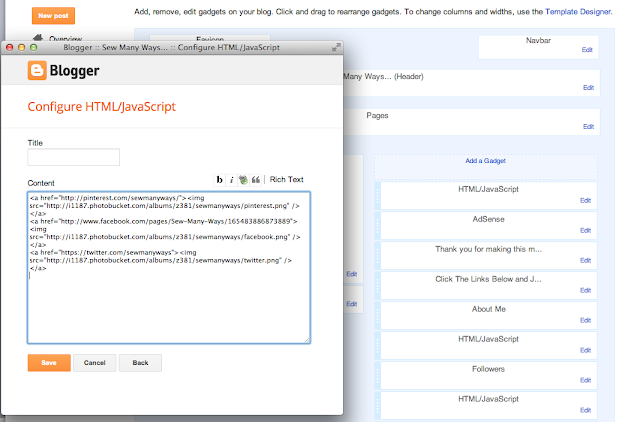
STEP 8
PASTE your whole code you copied from the Word Document into the HTML box.
Click SAVE.
To move your icons, drag and drop them where ever you want your icons to be on your side bar and click save again
That's it...Your Done!!!
Here are the sample icons I made for this tutorial...
I really hope you give this a try. I know the word CODE can be scary for some, but you are just copying and pasting. If you make a mistake and the icons don't work, just remove them and start over.
Have fun with it!!
Happy Blogging,~Karen~

Hiç yorum yok:
Yorum Gönder