25 Şubat 2013 Pazartesi

FFA and feelin' SHABBY! :)

To contact us Click HERE
Pin ItI've been in a shabby chic mood lately! I mean, yes I'm always in a shabby chic mood but this week has been different! I have been loving the shabby chic colors. A LOT! I suddenly want everything in my house to be aqua!! So, my favorite picks for this week are all things SHABBY!
Alderberry Hill
summertime shelf
__________________
Liz Mariehomemade chalk paint
_____________________________
Life on Walnut Street
room makeover on a budget
___________________________
Johnny in a Dress
ruffled lamp shade
(POP of color!)
_________________________
Life on Lakeshore Drive
lantern makeover
____________________________
Stubbornly Crafty
girly baby bibs
___________________A Diamond in the Stuffsummer mantel___________________________
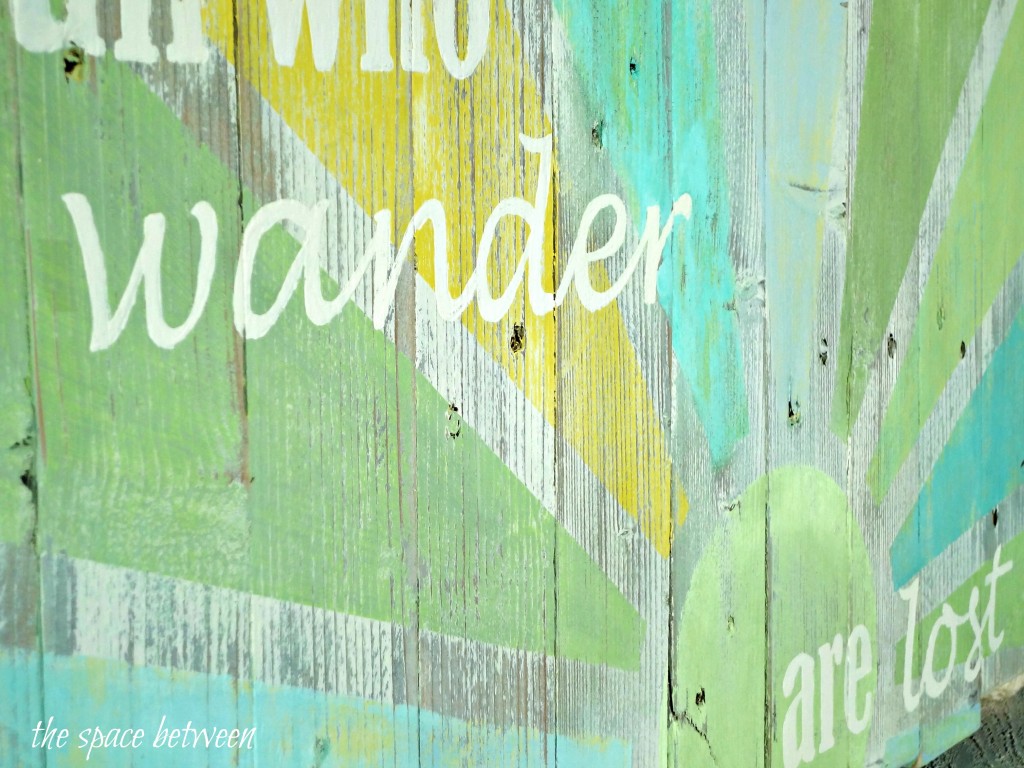
The Space Between
pallet art

___________________________Shabby Lovevintage finds_________________
Peaches and Maple
australia's most beautiful room

________________________________
I {heart} all things SHABBY and all things CHIC!!
What your favorite style??
IT's LINK UP TIME!

Happy Friday and have a wonderful weekend!

Valentine's Day Gift Idea...Heart Bookmark

To contact us Click HERE
Hi everyone!! Thought I would share a post I did in the past for this heart bookmark. I don't usually repeat my posts, but Valentine's Day is 2 weeks away, so I wanted to remind you of a quick and easy gift idea. I have new followers too, who may have missed this post.


If you make these ahead of time, they'll make great gifts to tuck into any Valentine's Day card.


The tutorial only takes 3 squares of fabric and a heart template.


The original post has lots and lots of pictures to make it extra easy for you.

Maybe this could be your Super Bowl sewing project, if you're not into the "big game"!!

CLICK HERE..for the original post!!

Happy sewing,
~Karen~

Pin It

Blogging Tip...Adding Email Button

To contact us Click HERE
Hi Everyone. This week's blogging tip is an easy one, but oh so important. Today, I'll explain how to add an email button to your blog. Having an email button easily accessible on your blog is the best way to make connections in the blogging world.

It's also important to have it on your blog if your blogger profile is set to "No Reply". If you are no sure what No Reply means or if your are one...click HERE to read more.


Today's tutorial is really what to type in the link for an email button. I have to thank Adrienne from the blog Black White Color for helping me with this. She had emailed me to thank me for the Social Media Button tutorial and asked me to stop by and see her new buttons. They are too cute!!

I emailed her back and asked what she typed in the html code for the email address. She was so helpful. This is why I love blogging!! Everyone is so willing to help and share what they know! Thank you so much Adrienne for sharing.


Before I share the correct link for an email button, let's start with what social media buttons and email buttons look like...


Photobucket Photobucket Photobucket Photobucket Photobucket  Photobucket 


I did a tutorial for making and adding social media buttons a few months ago. Click HERE for the tutorial for adding the button or buttons to your blog.

All the buttons will have the individual address of the sites you want to link to...like Facebook, Pinterest etc.

Well, an email address doesn't have a "site" address, so you will be typing in your email address that looks like the example below, where it says WebsiteAddressHere in the other tutorial.

Type in...

mailto:then your  email address with no spaces

Example with my address...

mailto:sewmanyways@gmail.com


Follow all the instructions from the social media button post to actually add the buttons and compose the full html code. Again, click HERE for that.

Hope this helps. Thanks Adrienne for helping!!

Happy Blogging,
~Karen~

Pin It

T'was two nights before Christmas....

To contact us Click HERE
The last of our wreaths were hung today, right before we put the finishing touches to a clients magical Christmas garden.

The scent of our Festive Spice candle is filling the air, The Andrews Sisters have been cranked up high and whilst simultaneously sipping on Veuve, The Magical Christmas Wreath Company workshop is being swept, tidied and packed away until our return in 2013.

Due to upcoming appointments that begin in the north pole, I must inform you all officially ladies and gentlemen that.....................the elves have now left the building!

Click images to enlarge 
 A big thank you to Pamela over at The Style and Travel Journals for my lovely hat which kept my little pixie ears very warm this winter.
We would like to thank all our blog friends and customers for their generous friendship and wonderful support. We wish you all a super Christmas and a fabulous New Year.

mini s'mores cupcakes

To contact us Click HERE

This is last dessert in my series of posts on the goodies that I made for Cherish's wedding dessert table.  (In case you missed them, I also made Hello Kitty macarons, football and tooth cookies, and potted plant chocolate puddings).  Cherish had wanted some kind of cupcake on the dessert table, and since s'mores were one of the things in her "list of likes", we decided on mini s'mores cupcakes.


I ended up using an adaptation of a recipe that I had previously used from 6bittersweets, except I used my favorite Ina Garten chocolate cake recipe.  And since I was making mini cupcakes, I didn't think the graham cracker crust on the bottom would fit, so I just sprinkled crushed graham crackers on top of the batter before baking.

Once the mini cupcakes were baked and cooled, I made the marshmallow frosting (which is basically a Swiss meringue frosting), for which I followed the recipe exactly.  I used a large open star tip to pipe the frosting onto the cupcakes, and then used a creme brulee torch to lightly brown the frosting.

While I thought the cupcakes were was delicious and marshmallowy the night they made, by the next day (the day of the wedding) I bit into one and felt as if the frosting had become light as air.  That wasn't necessarily a bad thing, but I had wanted the frosting to retrain it's gooey marshmallow texture.  So next time I think I'll try an Italian meringue frosting, as I've read it tends to be more stable than a Swiss meringue frosting.


And finally, a sneak peek into how I displayed these minis - on a beautiful three-tiered square pedestal cake stand!


Stay tuned for my summary post on the wedding dessert table!

24 Şubat 2013 Pazar

FFA and feelin' SHABBY! :)

To contact us Click HERE
Pin ItI've been in a shabby chic mood lately! I mean, yes I'm always in a shabby chic mood but this week has been different! I have been loving the shabby chic colors. A LOT! I suddenly want everything in my house to be aqua!! So, my favorite picks for this week are all things SHABBY!
Alderberry Hill
summertime shelf
__________________
Liz Mariehomemade chalk paint
_____________________________
Life on Walnut Street
room makeover on a budget
___________________________
Johnny in a Dress
ruffled lamp shade
(POP of color!)
_________________________
Life on Lakeshore Drive
lantern makeover
____________________________
Stubbornly Crafty
girly baby bibs
___________________A Diamond in the Stuffsummer mantel___________________________
The Space Between
pallet art

___________________________Shabby Lovevintage finds_________________
Peaches and Maple
australia's most beautiful room

________________________________
I {heart} all things SHABBY and all things CHIC!!
What your favorite style??
IT's LINK UP TIME!

Happy Friday and have a wonderful weekend!